
How to use a multimeter
Welcome to an introductory guide on using multimeters
A multimeter is a versatile electronic measurement tool that combines several functions into one device, primarily used to measure voltage (V), current (A), and resistance (Ω). It's an essential tool for electricians, hobbyists, and technicians for troubleshooting circuits and testing components.
Parts of a Multimeter
A standard multimeter has a few key components:
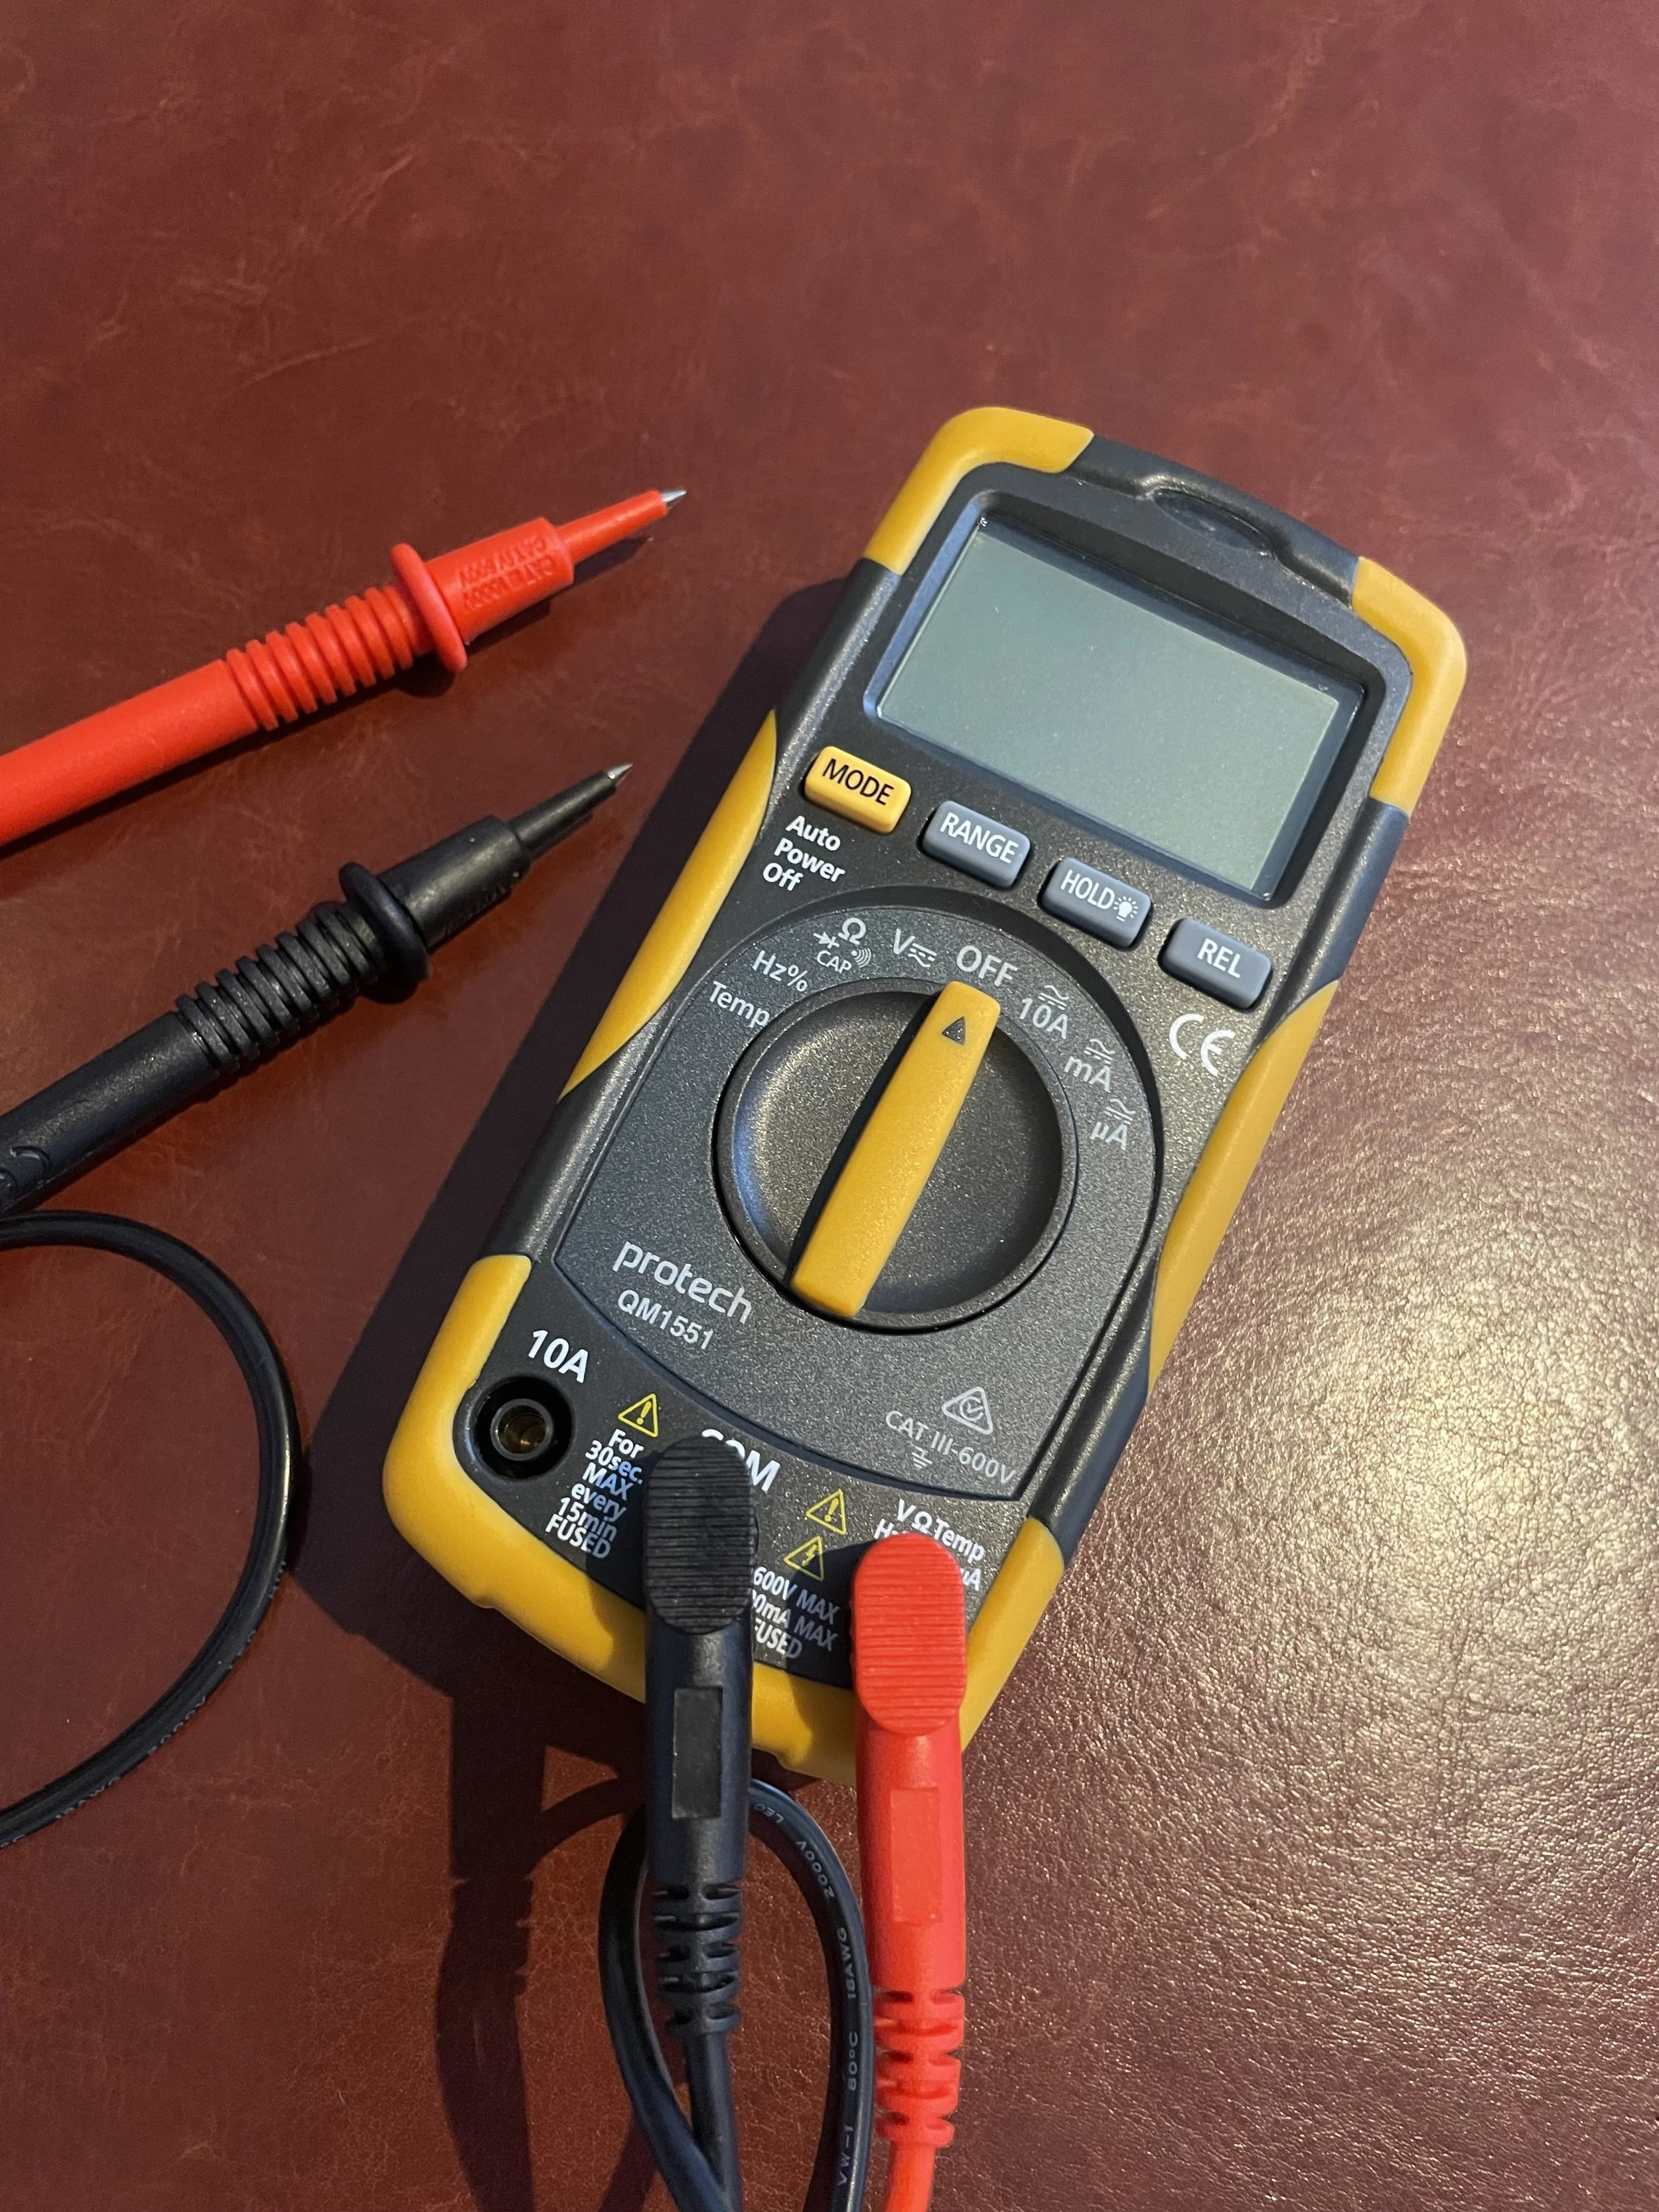
Display: Shows the measured value.
Dial/Selector: Used to choose the measurement type (voltage, current, resistance) and the range.
Probes: The red and black leads used to make contact with the circuit. The black probe is always connected to the common (COM) jack, and the red probe is connected to the jack corresponding to the measurement you're making (V, A, or Ω).
How to Measure Voltage (V)
Voltage is the electrical potential difference between two points. It's measured in volts (V).
Take note: to measure voltage, you connect the multimeter in parallel with the component or power source you're testing (NOT in series as you would measuring current with an Ammeter).
1. Set the dial to the appropriate voltage setting. Most multimeters have separate settings for AC (alternating current) and DC (direct current) voltage. For batteries and most electronics, you'll use the DC setting (V or VDC). For household outlets, you'll use the AC setting ($V or VAC).
2. Connect the black probe to the COM jack and the red probe to the V jack.
3. Touch the black probe to the negative point and the red probe to the positive point of the circuit or component.
4. Read the value on the display. If you see a negative sign, it just means your probes are reversed.
How to Measure Resistance (Ω)
Resistance is the opposition to the flow of electric current. It's measured in ohms (Ω). Always ensure the circuit is powered off before measuring resistance to avoid damaging the multimeter.
Take note: you measure resistance by placing the probes across the component.
1. Set the dial to the resistance setting (Ω).
2. Connect the black probe to the COM jack and the red probe to the Ω jack.
3. Touch the probes to the two ends of the component you want to test.
4. Read the resistance value on the display. An "OL" (overload) reading usually indicates an open circuit or a resistance value higher than the multimeter's range.
How to Measure Current (A)
Current is the rate of flow of electric charge. It's measured in amperes (A).
Take note: to measure current, the multimeter must be connected in series with the circuit (NOT in parallel as you would measuring voltage with a Voltmeter). This means the current must flow through the multimeter. This is the most complex measurement and can be dangerous if not done correctly.
1. Break the circuit where you want to measure the current.
2. Set the dial to the appropriate current setting (A for amperes, mA for milliamperes). Be mindful of the fuse rating on your multimeter. Most multimeters have a separate fused input for high current (10A or 20A) to prevent damage.
3. Connect the black probe to the COM jack. Connect the red probe to the correct current jack (e.g. A for high current, mA for low current).
4. Connect the probes to the two ends of the break in the circuit, allowing the current to flow through the multimeter.
5. Read the value on the display. Turn off the power and reconnect the circuit correctly after taking the measurement.